Blackberry Sugar Lip Scrub


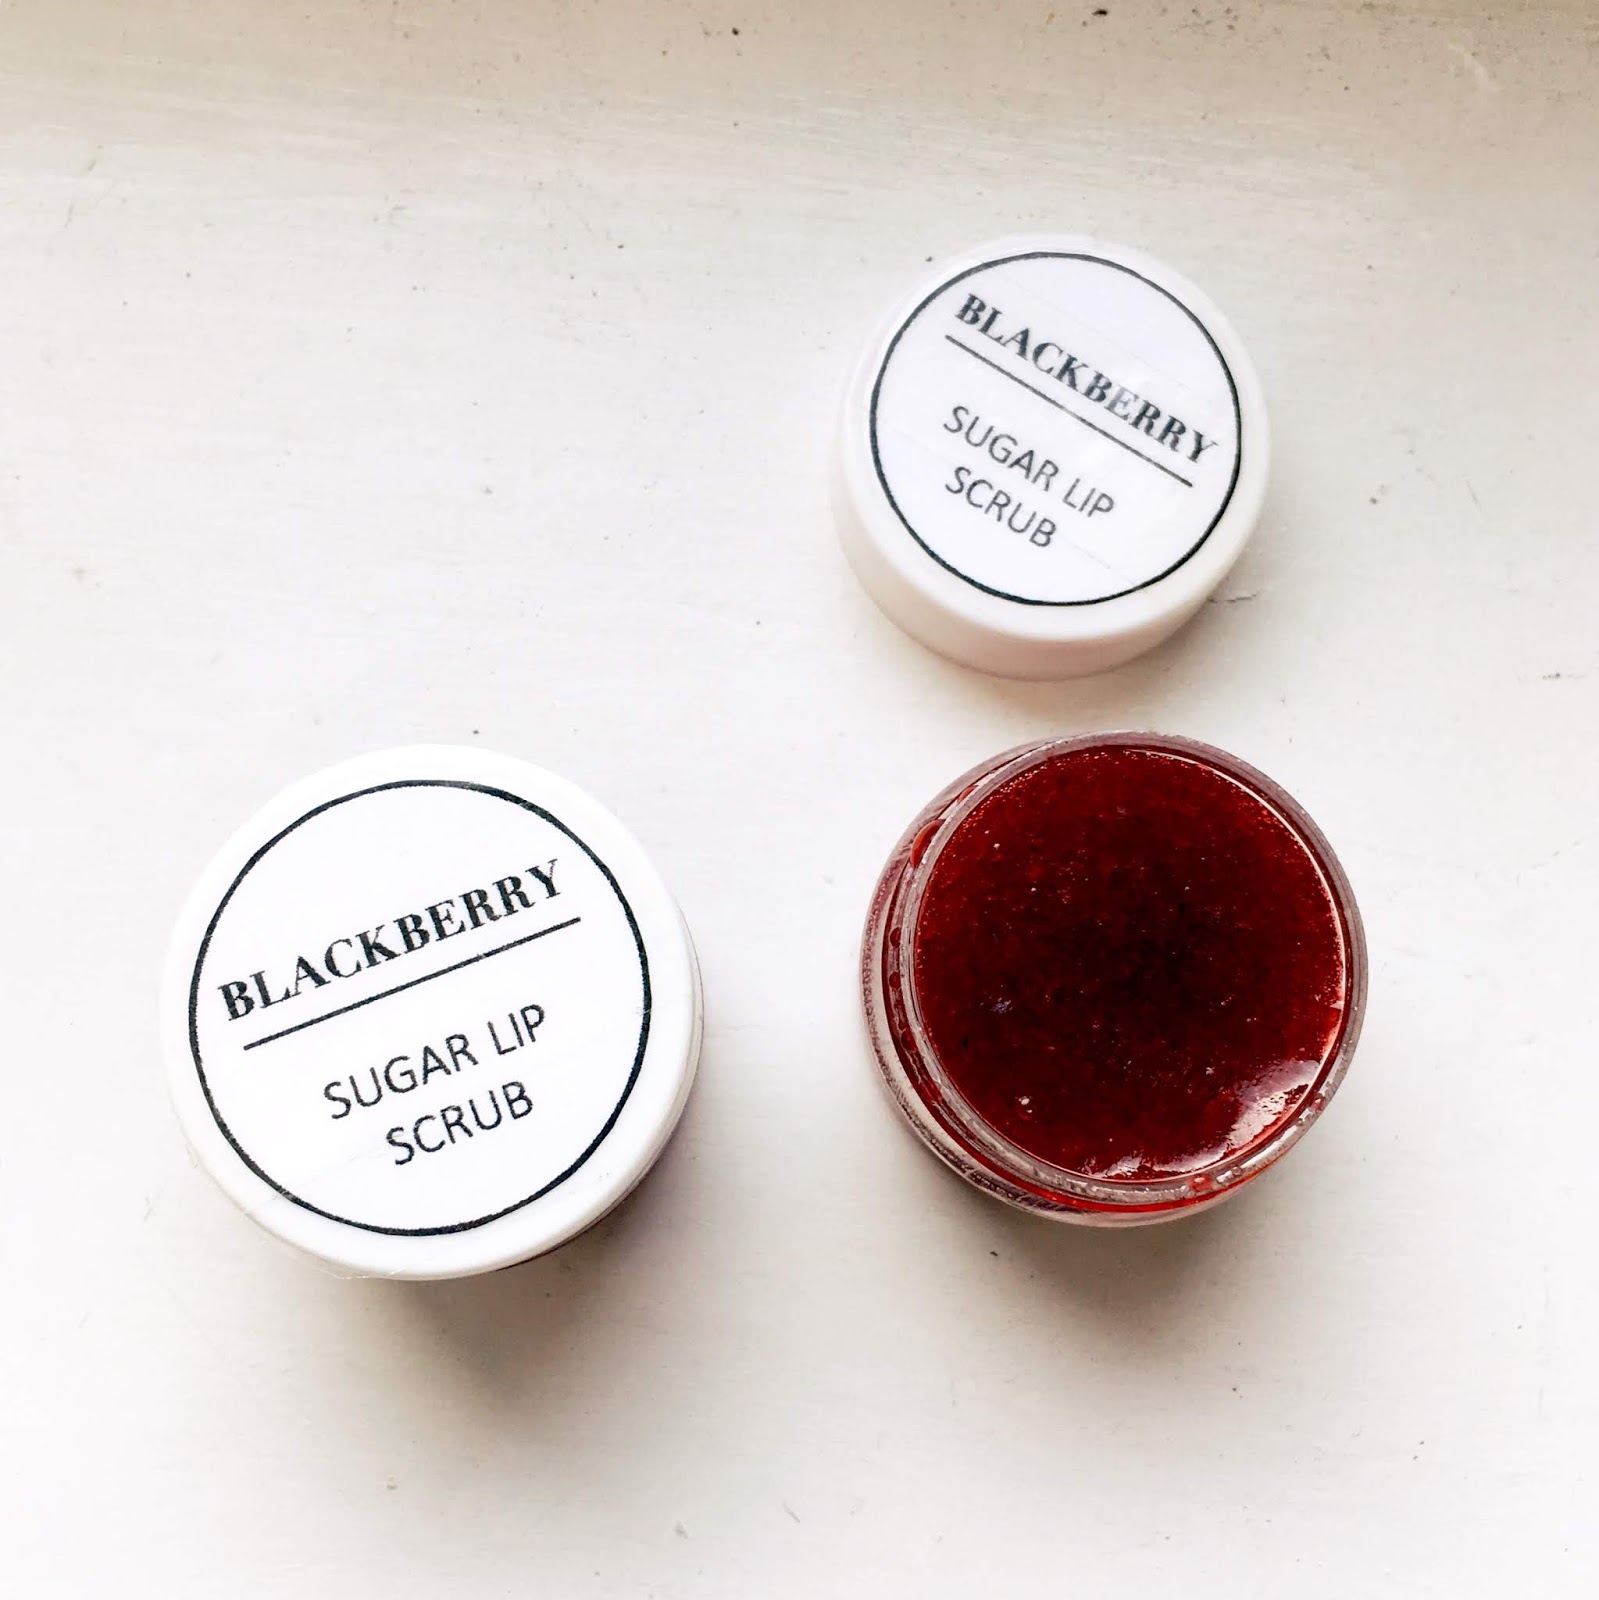
Hello everybody! I'm sorry for not posting in such a long time. Now that I am on my final year of uni, it has been very hard keeping up with the DIYs and recipes but I will try to post more regularly. So for today's DIY, I have an easy-peasy blackberry sugar lip scrub. I absolutely love lip scrubs. They are very easy to do and make an excellent birthday or Christmas gift. Because I have very dry skin and lips, it is important for me to exfoliate on a regular basis. I chose to make today's lip scrub with one my favourite fruits: Blackberries. I love blackberries. Not only do they taste amazing, they are also great for your skin. 

Ingredients:

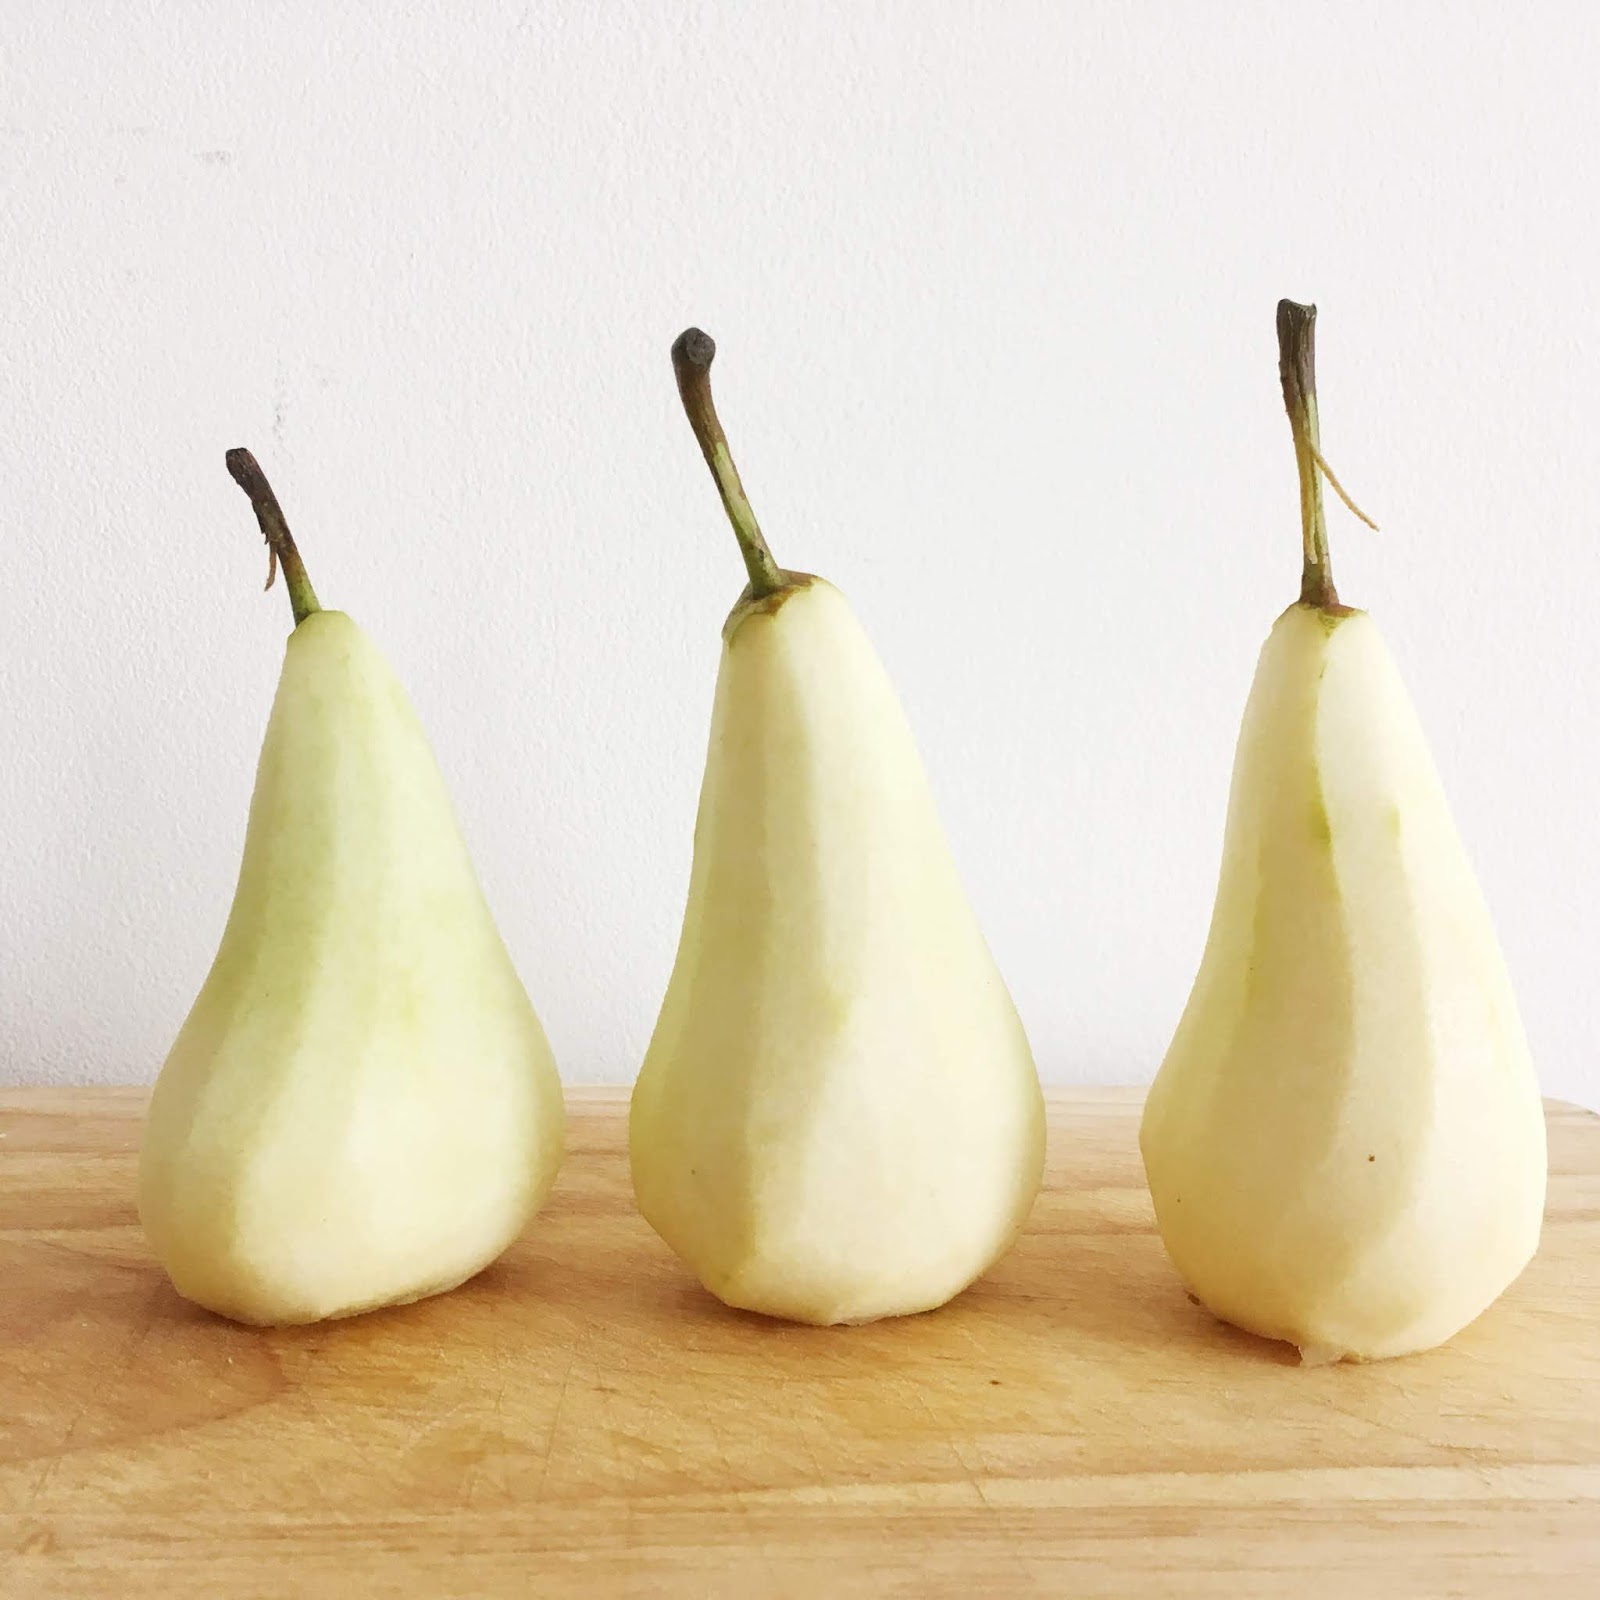
- a few blackberries (I only used 3)
- a tablespoon of cane sugar
- a tablespoon of brown sugar
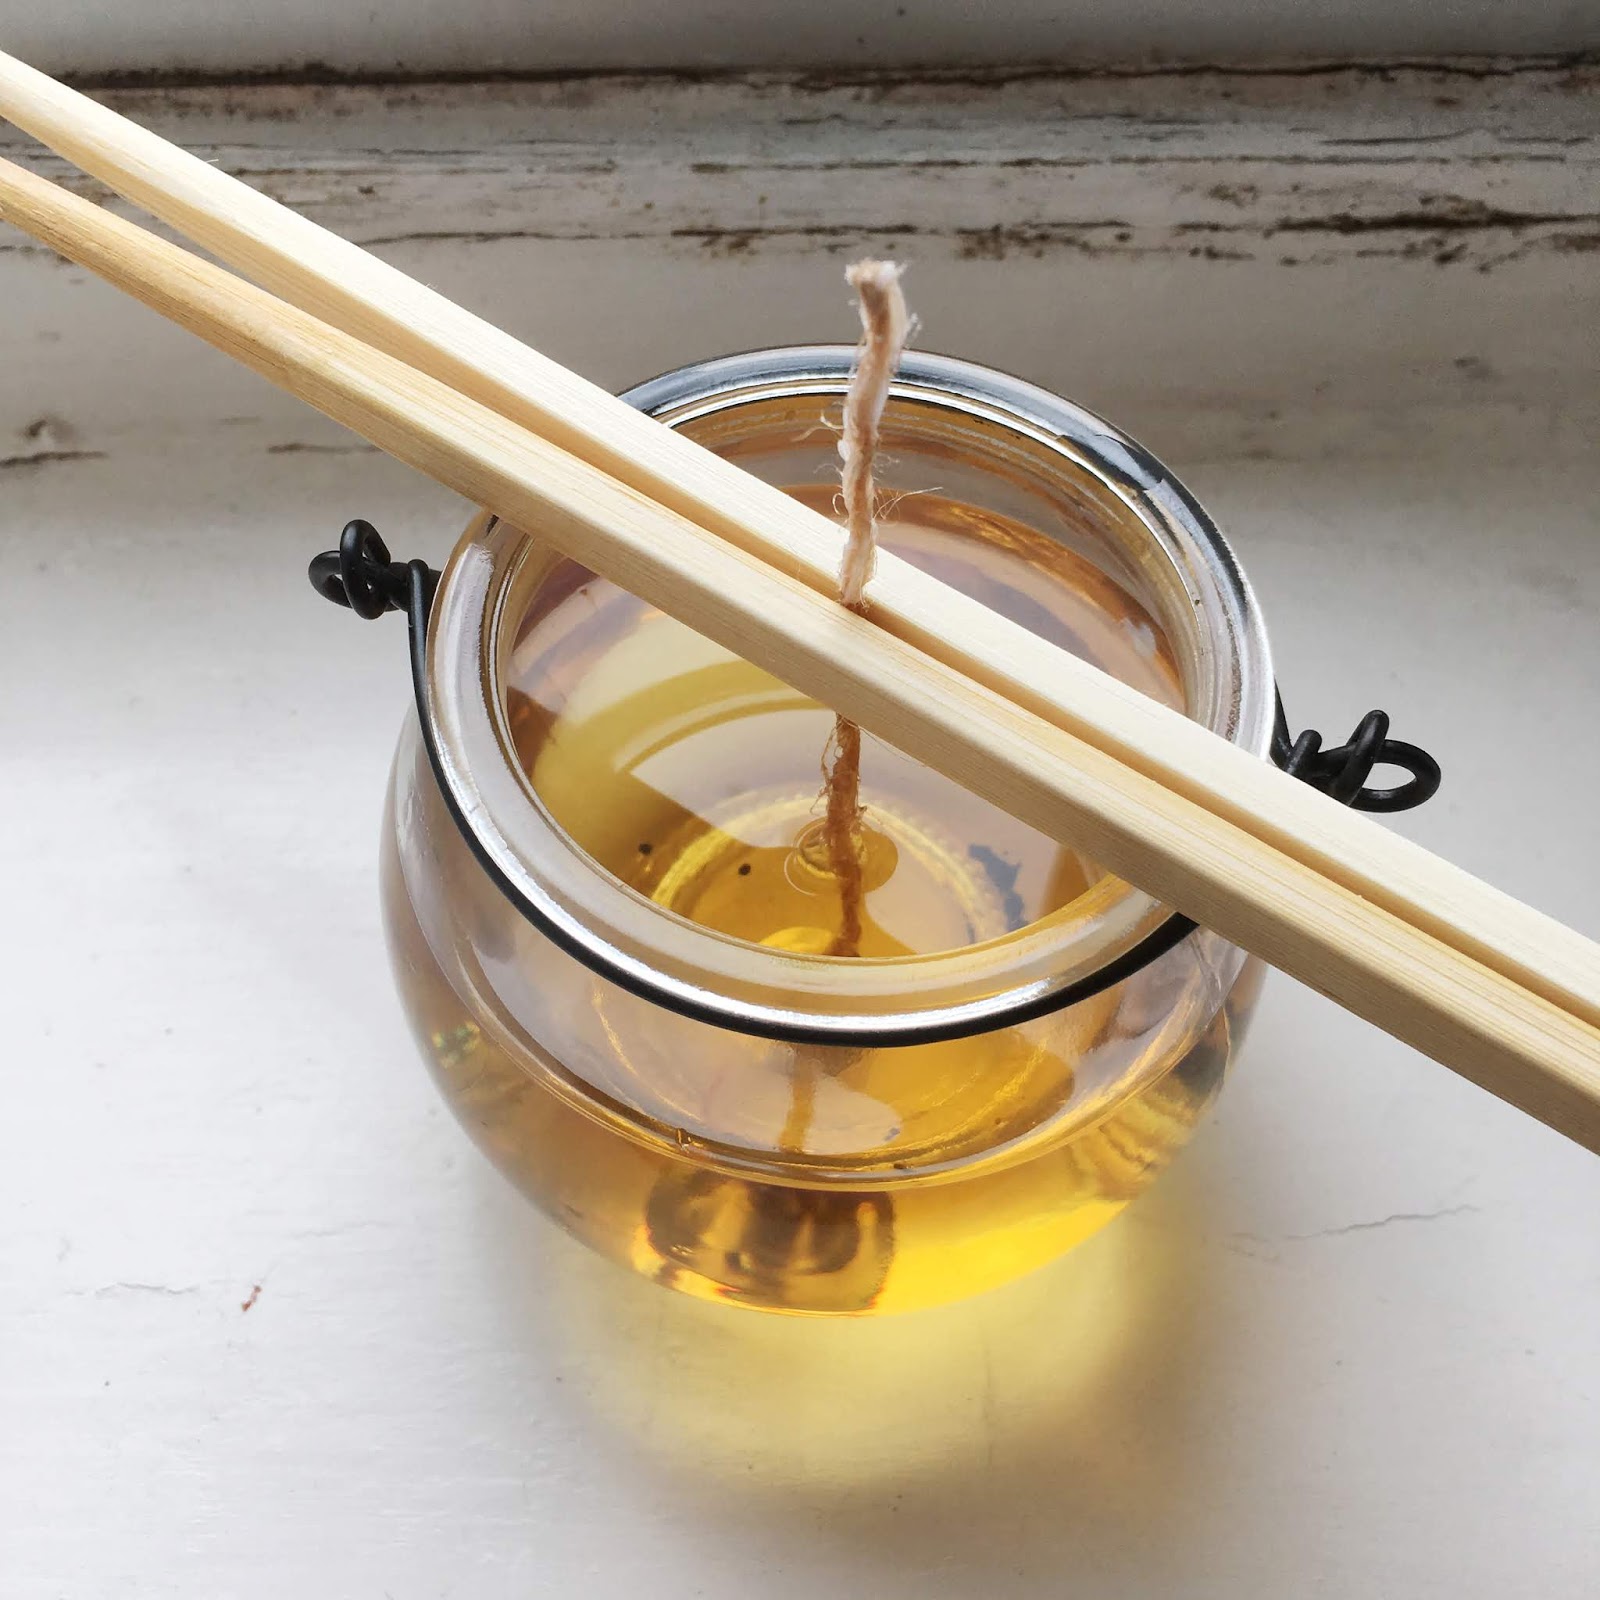
- a tablespoon of liquid coconut oil or olive oil

What you'll need:

- a strainer
- a spoon or fork
- little containers


How to do it:

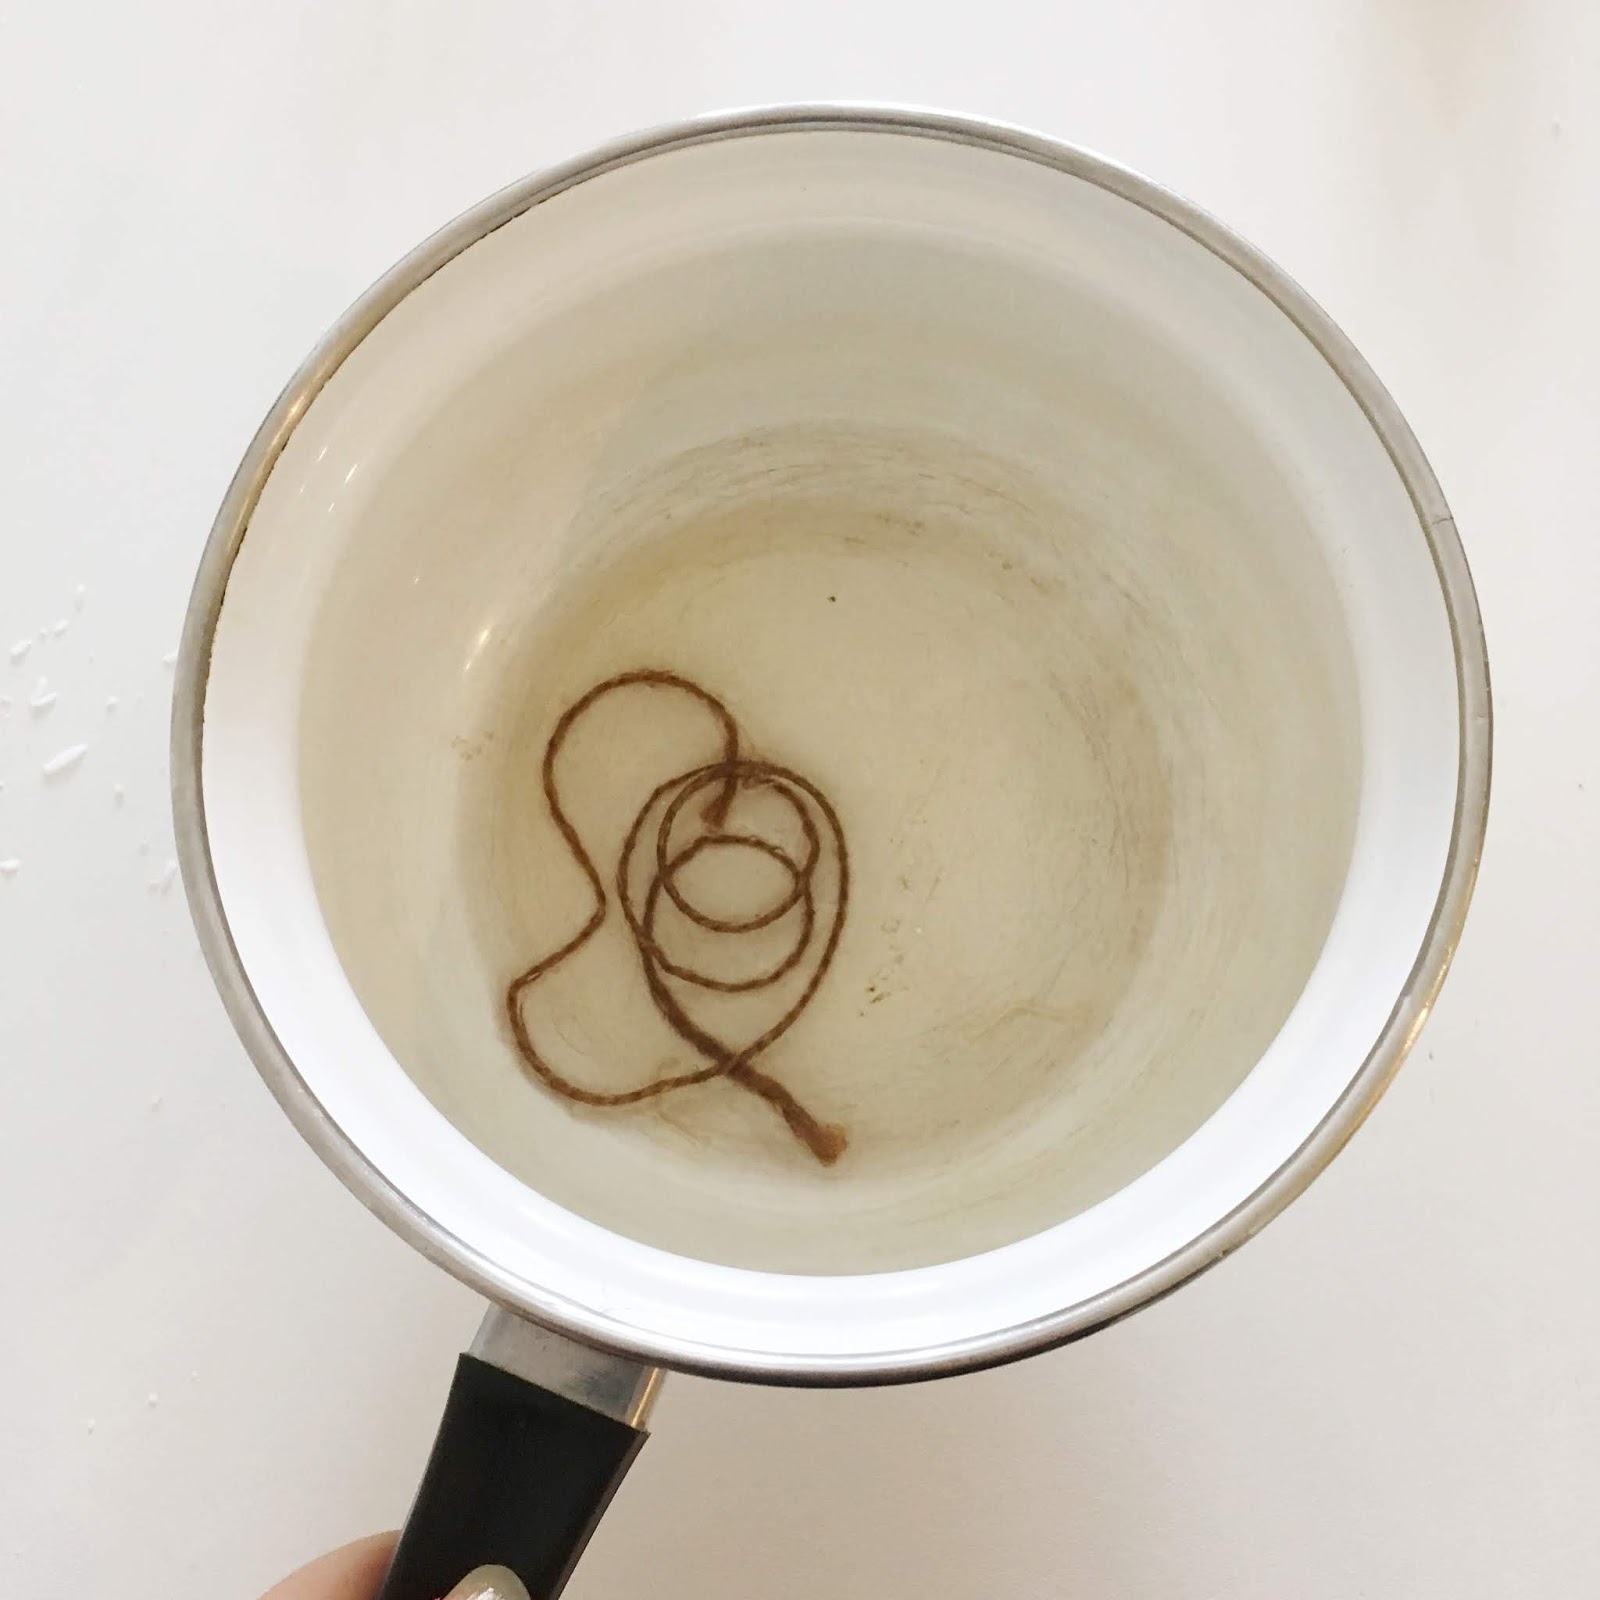
1. The first step in making the blackberry lip scrub is collecting the juice from the blackberries. For this you'll need a strainer and fork or spoon. Place your blackberries in a strainer and squash them with your fork or spoon. Collect as much juice as you can. 


2. In a small bowl mix the coconut/olive oil and sugars together. Add in the blackberry juice and stir. Your lip scrub should have a grainy texture and should not be too liquid. If it is too liquid, add in some more sugar.

3. Pour your mixture into an air-tight container.

4. To use the lip scrub, wet your lips with warm water and apply the lip scrub.

5. Make sure to massage it in to allow the sugar grains to exfoliate your skin.

6. Leave it on for a couple of minutes before rinsing it off with warm water.

And Voilà!

I hope you enjoy this very quick DIY. Let me know what you think in the comments! 💕


Puff Pastry Wrapped Pears

A few years ago, I watched an episode of the Great British Bake Off in which the technical challenge was pastry wrapped pears (mini pear pies) and I remember how delicious they looked. I also remember watching one of the contestants completely mess up the challenge. His pears collapsed which almost got him kicked out of the competition and I thought to myself "they don't look so hard to make, how did he mess up so bad?". Like I said, this was a few years ago so I wasn't too sure how they were made but I thought I'd give it a go. I am most definitely not a great pastry chef, I actually don't like spending that much time in the kitchen. However since living alone and finally figuring out how my oven works, I have dedicated some time to baking. These puff pastry covered pears were extremely fun to make and so simple (well my way is!). This was the first time and I am pretty happy with how they turned out. I will try again in the future and hopefully they'll look even better. If you have friends over and want to show off your cooking skills with a delicious dessert, I think this recipe is great!


What You'll Need:

- 3 small pears
- 2 cups of sugar (I used cane sugar)
- 1 cup of honey
- puff pastry 
- cinnamon (optional)

How to do it:


1. Start off by peeling your pears. Core them from the bottom. You may cut off a bit of the pear at the bottom in order to level it.


2. In a casserole, add 4 cups of water or enough to cover your pears and boil. Then add the sugar and the honey (and cinnamon) and stir until they have melted. Reduce heat and add in your pears to poach. This should take between 15 and 20 mins depending on your pear. Let it simmer until the pears are soft.


3. Remove pears from the casserole and put the honey and sugar liquid aside. The pears should be very sticky and hot. Let them cool down.


4. Preheat your oven to 200C. Meanwhile cut your puff pastry into long strips (about 8mm wide) using a sharp knife. You will need quite a few strips. I used 3 strips per pear. Wrap the strips around the pears starting from the bottom and continue towards the top. This is the part that I liked the least. I am not the most patient person in the world and wrapping these pears just got on my nerves. 


4. Place in the oven on a baking sheet and bake for about 25 to 30 minutes. Serve warm and drizzle with the honey sugar syrup that you put aside earlier on. 


Enjoy!

GET THE LOOK: TONI TOPAZ

Since Riverdale season 2's finally aired a few days ago, I decided to do another get the look but this time with Toni Topaz and can we just say, her style is badass!


  • neverorever  - PHILIPP PLEIN Bonnif Frazier Leather Jac - Jacket - coats -

    Philipp Plein Bonnif...
    (Jacket - coats)
  • majakovska - tajice - Leggings -
    Tajice
    (Leggings)
  • Aleksandra Oršolić - ogrlica - Necklaces -
    Ogrlica
    (Necklaces)
  • suza1607 - lančić - Necklaces -
    Lančić
    (Necklaces)
  • sandra24 - Cizme - Boots - 65.00€  ~ $86.08
    Cizme
    (Boots)
    65.00€ ~ $86.08
  • LadyDelish - Narukvice Bracelets Black - Bracelets -
    Narukvice Bracelets...
    (Bracelets)
  • Lady Di ♕  - Saint Laurent - Jacket - coats -
    Saint Laurent
    (Jacket - coats)
  • LadyDelish - Narukvica Bracelets Silver - Bracelets -
    Narukvica Bracelets...
    (Bracelets)
  • LadyDelish - Naušnice - Earrings -
    Naušnice
    (Earrings)
  • Lady Di ♕  - Monki t-shirt - T-shirts -
    Monki T-Shirt
    (T-shirts)
  • LadyDelish - Naušnice - Earrings -
    Naušnice
    (Earrings)
  • Lieke Otter - Shorts - Shorts -
    Shorts
    (Shorts)
  • LadyDelish - Boots - Boots -
    Boots
    (Boots)
  • spabrah - hysteric glamour, sheer, black, mesh - Leggings -
    Hysteric Glamour,...
    (Leggings)
  • LadyDelish - top - Tanks -
    Top
    (Tanks)


DIY Scented Candles

So in between food shopping and making my friend's birthday present, I somehow ended up with some tea light candles and an empty lantern from the £1 shop or the dollar store if you are in the US. I have never really made my own candle before, i'm not too sure why... Candles are very popular for DIY bloggers. Normally, you would make them out of beeswax or soy wax which is fine but I decided to make my scented candle out of the tea light candles which I ended up with. I mean come one, a whole pack of tea light candles for a pound... Now that's a bargain! Yes I guess, you could say i'm taking the easy way in candle making but it is still very fun to make and smells great and I just wanted to share the process with you which by the way is super simple.


What You'll Need:

- tea light candles
- glass container
- jute string (or 100% cotton yarn or thread)
- essential oils
- skewers or chopsticks


How To Do It:

Candle Wick:

You may use ready made candle wicks or wooden wicks if you would like to save some time but I preferred to make my own as I had everything I needed at home.

1. Start off by melting candle wax. For this I used two tea light candles which I melted in a casserole.


2. Proceed to cut around 20cm of jute string. Once the candles have fully melted, place the string in the wax.


3. Let the string soak in the wax for a minute or two. Remove it from the casserole and suspend it high up to let the wax harden. Be careful not to burn yourself with the hot wax.


4. Once the wax on your string has cooled down and hardened, you should be able to hold it without it bending.

5. Use the wick holder from one of the tea lights you have melted and fit the string through the hole. You might need to use a thinner string if using a tea light wick holder as the hole tends to be smaller or you can try enlarging the hole with a sharp tool.


Making the candle:

1. Now that you have your wick, attach it to the bottom of your glass container. You may do this by using the melted wax. Pour some in your container and secure the wick holder.

2. Melt your tea candles. I had to use quite a few in order to get a decent amount. Once fully melted add a few drops of essential oil. I used sandalwood and lime for mine.

3. Use two wooden skewers or chopsticks to prop up the wick. This will allow it to stand up straight.


4. Pour your melted wax into your glass container. Be careful as the wax is extremely hot.


5. Allow the wax to set. This can take up to 8 hours depending on the wax. My candle was set within 2 hours :)


6. Finally, trim your wick and you are done!


Enjoy!

DIY Body Butter

So my best friend's birthday is coming up soon and I decided to make her a box full of homemade beauty products, one of these products is this natural shea butter body lotion. Like my friend, I have always suffered from terrible dried skin which is why I have been known to use shea butter in the past. It is such an easy recipe with only 4 ingredients and is sure to leave your skin feeling nourished.


What You'll Need:

- raw shea butter
- coconut oil
- olive oil
- any essential oil (I used Lily of the Valley)
- an empty jar

How to do it:

1. In a bowl, pour in about a cup of shea butter. If it is too hard, you can melt it in the microwave for about 30 seconds. 

2. Add 1/2 cup of coconut oil and mix it into the shea butter. You might need a hand mixer for this. I however do not own a hand mixer which made it harder for me.

3. Mix in a tablespoon of olive oil and finally add in about a tablespoon of essential oil. I had to use quite a lot of essential oil as I thought the smell of the shea butter was quite strong. In the end, with the lily of the valley essential oil, it smelt amazing! I also suggest using lavender or chamomile oil for a more calming, aromatherapeutic experience.

And voila!


Enjoy!

Green Smoothie Bowl

As you might know, I am a big smoothie fan and there's nothing I like more than enjoying my smoothie with a spoon. This Green smoothie bowl is perfect for breakfast, lunch or even as a post workout snack. So grab your blender and enjoy this very simple and healthy recipe.


 What You'll Need:

For the Green Smoothie:

- 1 large banana
- 1 green apple
- 1 kiwi
- a handful of baby spinach
- vanilla yogurt
- half an avocado

For the Toppings:

- raspberries
- blueberries
- kiwi
- green apple
- pomegranate seed
- granola
- edible cornflower petals


How To Do It:
In a blender, add all your ingredients and blend until thick and creamy. Transfer your smoothie to a bowl and top with your fruits, granola and cornflower petals. Enjoy immediately!


 Enjoy!
Shop SheIn for the latest in Fall and Winter Fashions